Proper cleaning and storage of your camera lens are essential for preserving image quality and protecting your equipment from irreversible damage. Here’s a step-by-step guide to keeping your lens in top condition, along with recommendations on how to store it safely.

Step 1: Dust with an Air Blower
Always begin by dusting the lens with an air blower. This contact-free method removes dust particles, minimizing the risk of scratching.
- Recommended Air Blowers: K&F Concept, Giottos, Lenspen, Sensei
Air blowers are an effective, risk-free way to start the cleaning process.
Step 2: Use a Soft Brush
After using the air blower, a soft brush helps to remove any particles still clinging to the lens surface. Opt for a dense, wide brush (3/4 inch) with soft bristles and consider shortening the handle for portability.
- Recommended Brush Features: Soft and densely packed bristles for optimal dust removal.
The brush catches small dust particles that could scratch the lens if left unremoved.
Step 3: Use Lens Cleaning Fluid (Only if Necessary)
For stubborn smudges, oils, or other residues, use lens cleaning fluid sparingly.
- Stabilize the Lens: Place it on a stable, flat surface.
- Apply Cleaning Fluid: Place a drop (or spritz if a spray cleaner) on a new lens tissue, not directly on the lens.
- Clean in Circular Motion: Gently wipe from the center outwards.
Step 4: Store in a Dry Cabinet
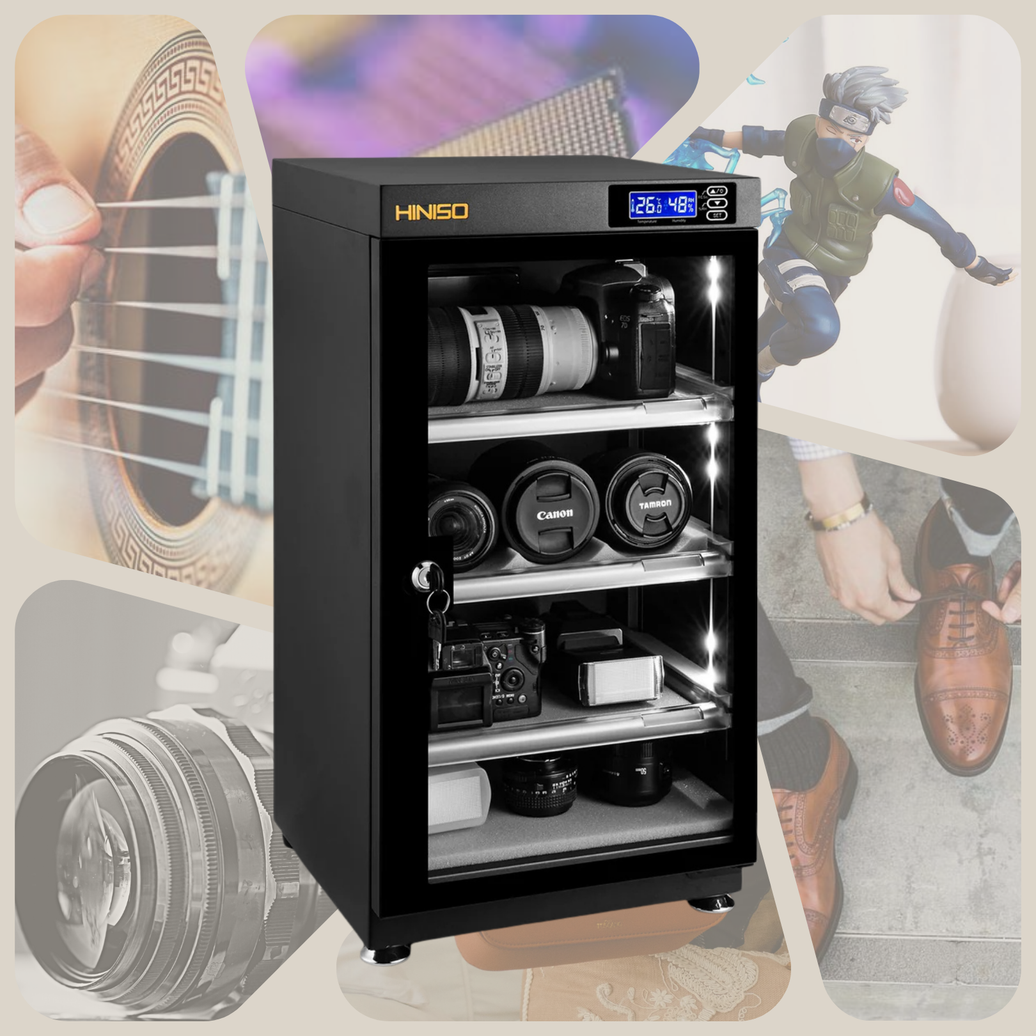
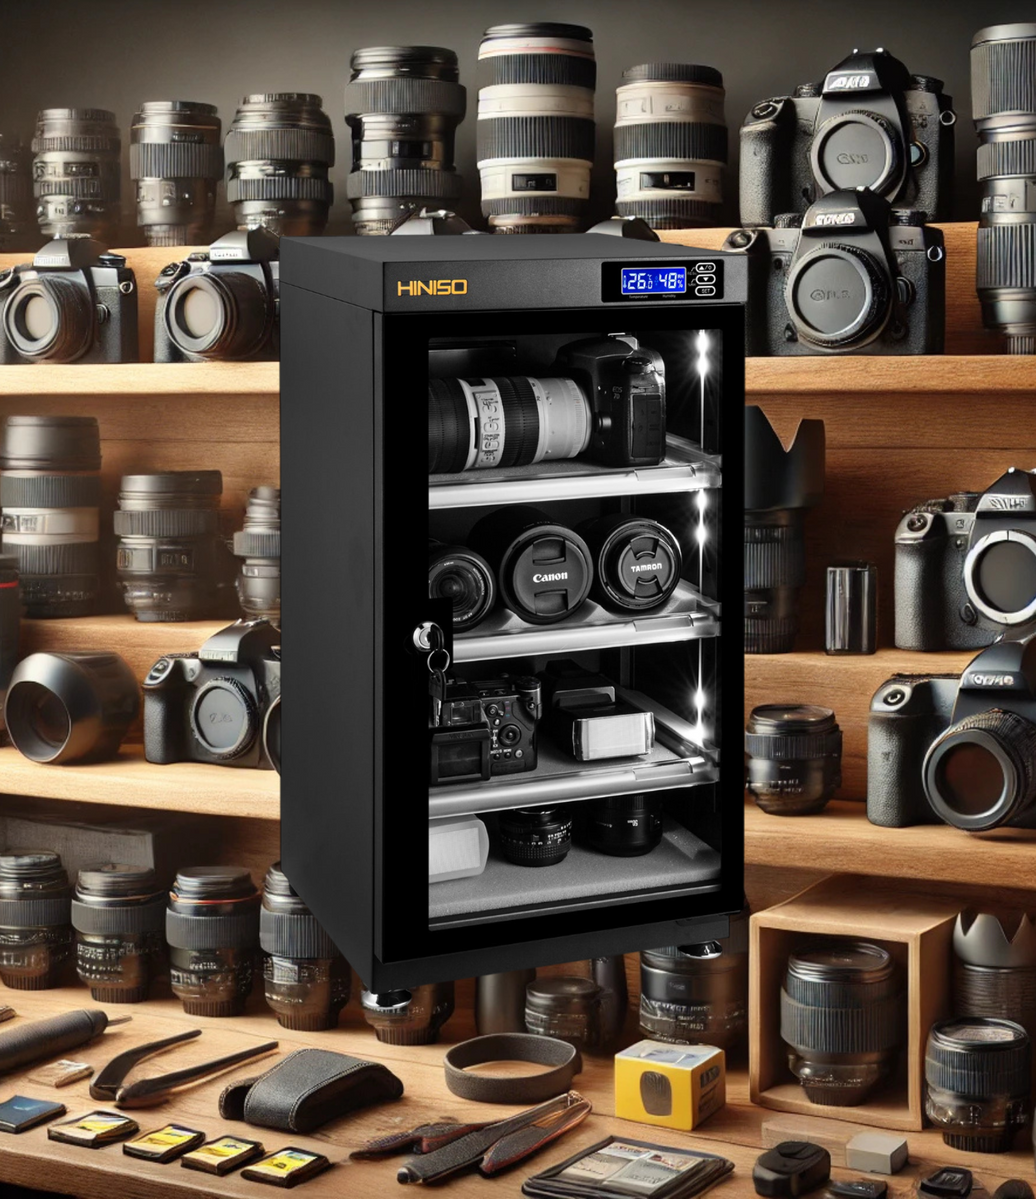
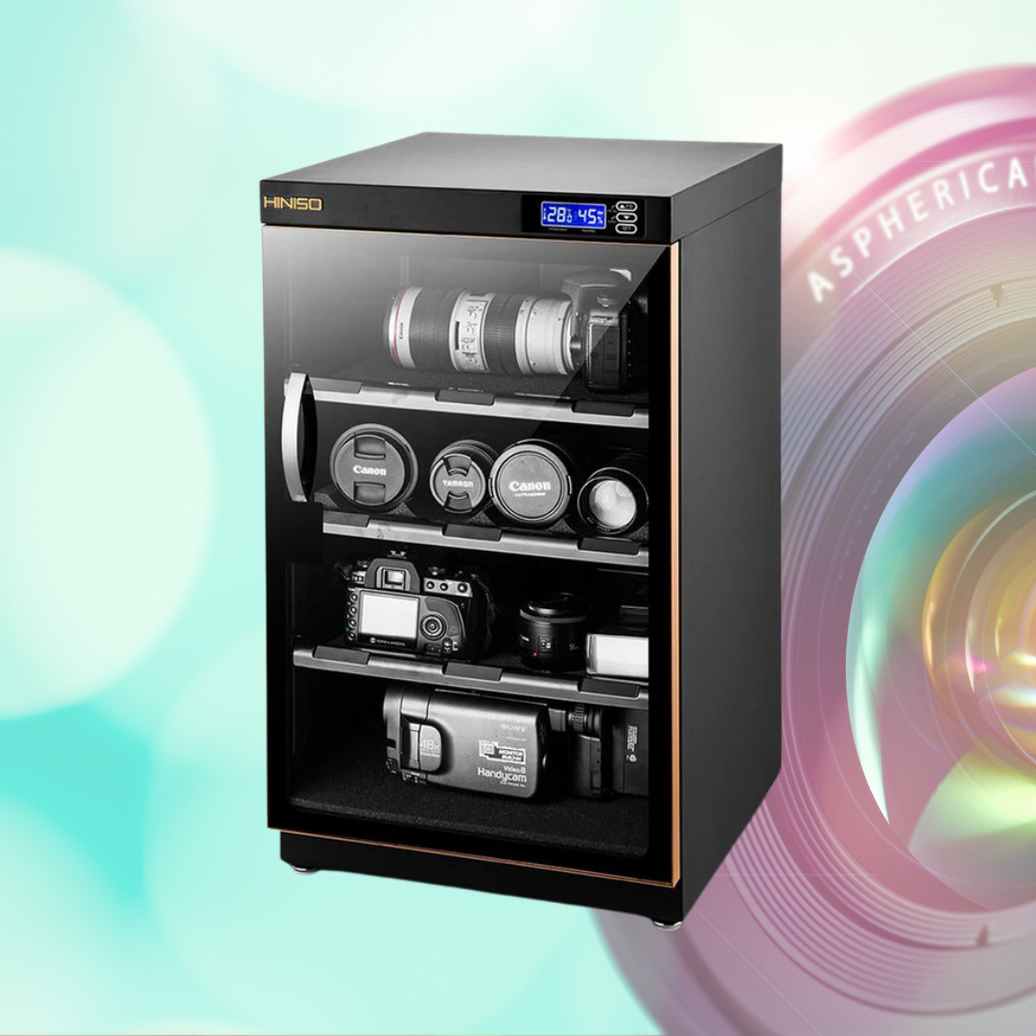
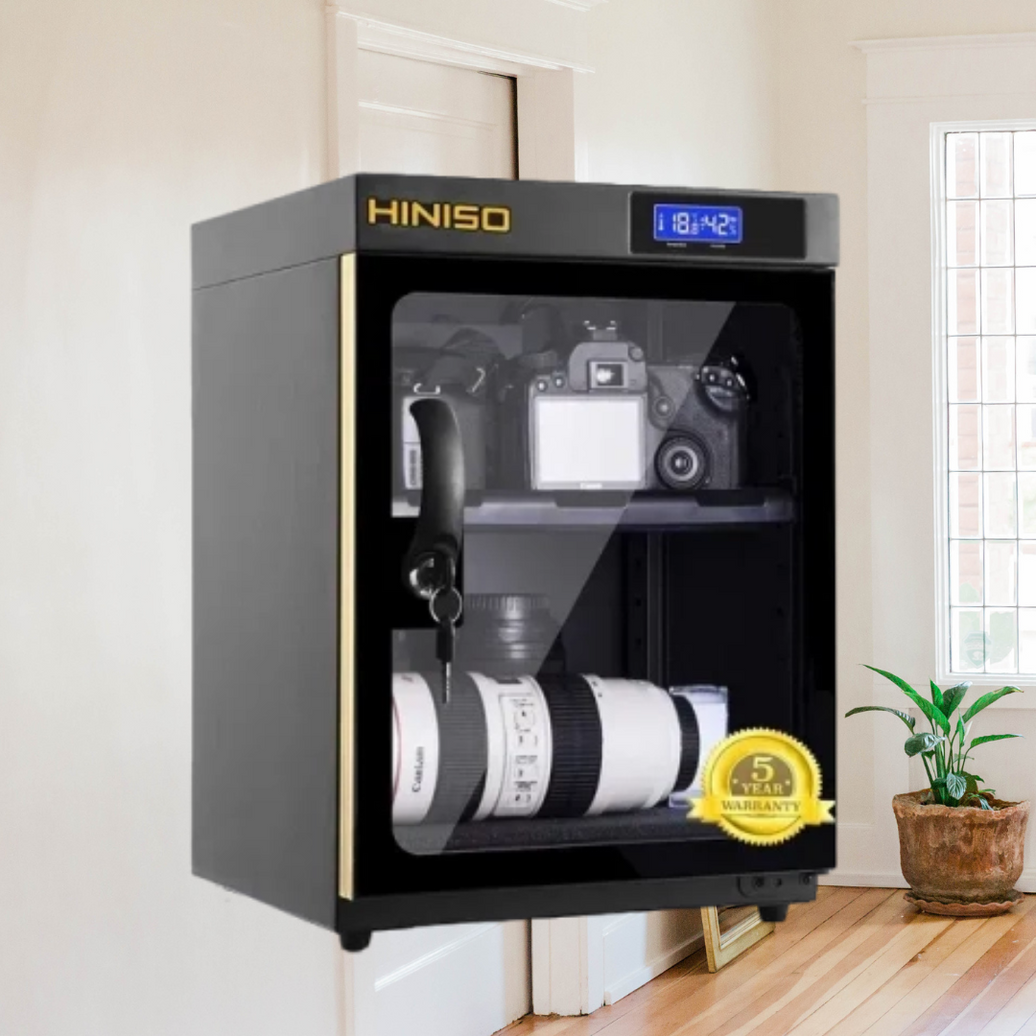
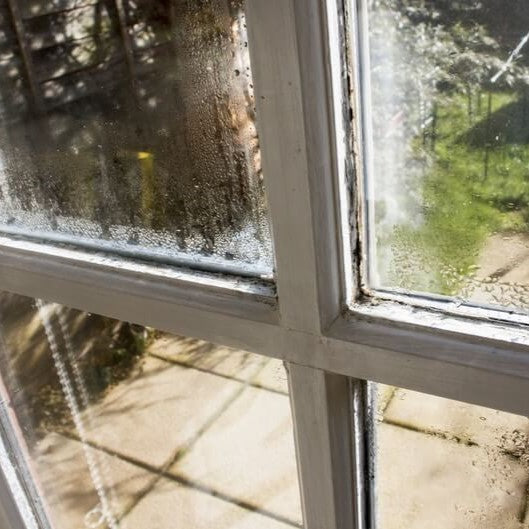
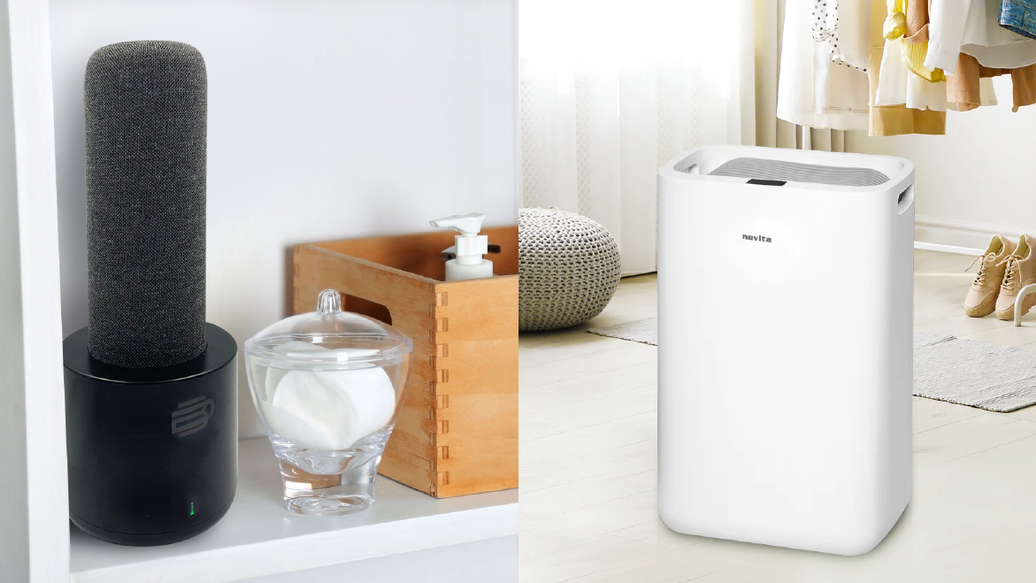
After cleaning, storing your lens in a dry cabinet is the best way to protect it from humidity, dust, and mold growth. Humidity-controlled storage keeps your lens and camera gear in optimal condition, especially in humid climates where moisture can damage optics.
A dry cabinet provides consistent protection, maintaining a low-humidity environment to prevent lens fungus and corrosion, ensuring that your equipment is always ready for action.
With these cleaning and storage steps, you’ll keep your camera lens in excellent condition, preserving quality and ensuring it’s ready for every shot.


